In a professional architecture scenario, many times a civil engineer will submit site drawings that will contain accurate site contour information. Wouldn’t it be helpful to be able to use these pre-made topography maps for your site work within your SketchUP model? Well guess what, it is, but a few steps are required to guarantee that you will be able to successfully import a site contour map.
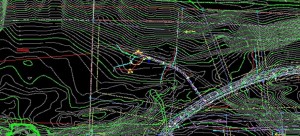
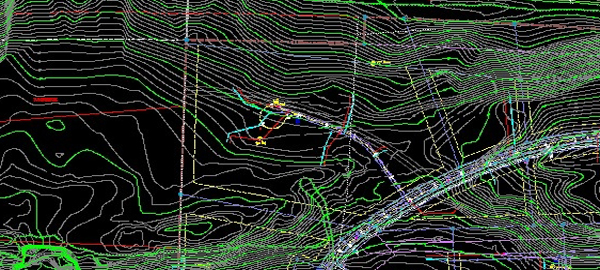
1. Analyze the the file you are trying to import. Many times a civil site plan will include a lot of data that is not necessary for your SketchUp model (sewer lines, drains, utilities, etc…) Remove all data points that are not required for your model. This will reduce the file size and allow the import to go quickly and smoothly. Does your DWG look like this?
TIPS:
– Verify contours contain elevation data. Select a “Contour Line” and check its “Properties”(right click and select “Properties”), it should contain an elevation value, if not you can add it in this window
– Remove any text. Any text that remains within the drawing can interfere with the “From Contours” tool within SketchUp (See Figure A)
– Focus on your one particular site, this map contains over 20 different development lots, we want to focus on just one. “Box” in your particular site and “Trim” any lines that extend beyond your desired working lot. (See Figure B)
– Purge all unused layers and blocks
– Save the file to a earlier version of AutoCAD: 2007 or Earlier

Figure A
 Figure B
2. Import the file into SketchUp. Go to File then Import:


Choose the DWG that you want to import and hit Open
 Imported DWG in “Plan” View
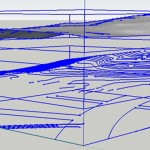
 Imported DWG in “Side” View
TIPS:
– You will notice that this particular file has two main pieces of information(See Side View above). The top group is the contours themselves and below are the “Street and Sidewalk” layout from the original file. Most Civil drawings will contain this data, they are separated because the Contours have elevation data attached and the “Streets” are usually placed at zero. We can use this data later to “drape” the streets over the contours once the contour “mesh” has been created (Drape Tutorial to Come)
– Group the “Contours” and the “Street” layout separately so you have two separate groups of data.
3. Prepare the imported contours to be “Meshed”, This step is optional but it does save time and a possible frozen computer ( I suppose a good computer can fix that too)
Right Click on the “Contour” group and select Edit Group, you will notice that the “Contours” contain a lot of points, which will take SketchUp a large amount of time to process and “Mesh”
 Contours with many “Points”
Download the free “Simplify Contours” ruby script from Google at http://sketchup.google.com/intl/en/download/rubyscripts.html and follow the directions to install to your copy of SketchUp Pro
Use this free script to “simplify” the contours, the script basically reduces the amount of points that the contours contain and turns them into “curves” and “lines” that are native to SketchUp

Highlight the Contours and go to PlugIns then choose Simplify Contours
 Highlighted Contours with “Simplify Contours” running
TIPS:
– The “Simplify Angle” box that appears when running the “Simplify Contours” ruby script will simplify the curves relative to the angle selected. The default is set at “10” and usually does the trick. A larger number will flatten the curve and sharpen the edges and reduce the amount of detail a “mesh” will contain, while a lower number will contain more detailed information.
– Don’t worry about Gaps between the contours, SketchUp can handle these and connect them appropriately
 Contours after being “Simplified”
Use the From Contours to create a “Mesh” from the imported Contours.
* First right click on the contour group and selct Edit Group.
* Select all of the contours
* Go to Draw then Sandbox then choose From Contours

 Topography after using From Contours Sandbox tool
TIPS:
– After the “Mesh” is created it will sit on top of the contours that you used to create them, however the “Mesh” will be in its own group withing the Contour Group. You will want to cut the “Mesh” from the contour group, close the contour group, and Paste outside of the contour group
 Completed “From Contours” Mesh


hi to all http://www.sketchuptutorials.neters this is my first post and thought i would say a big hello to yous –
thanks speak soon
garry moore
Looking forward to learn something new