SketchUp Basics Tutorial Part 2 – A Tutorial Primer for those new to SketchUp
In this multi-part tutorial I will show you the basics of SketchUp to get you started on your own design. Whether it is for professional, educational models or just for your own fun. In this tutorial we will work through the basic tools in SketchUp while creating your first small building.
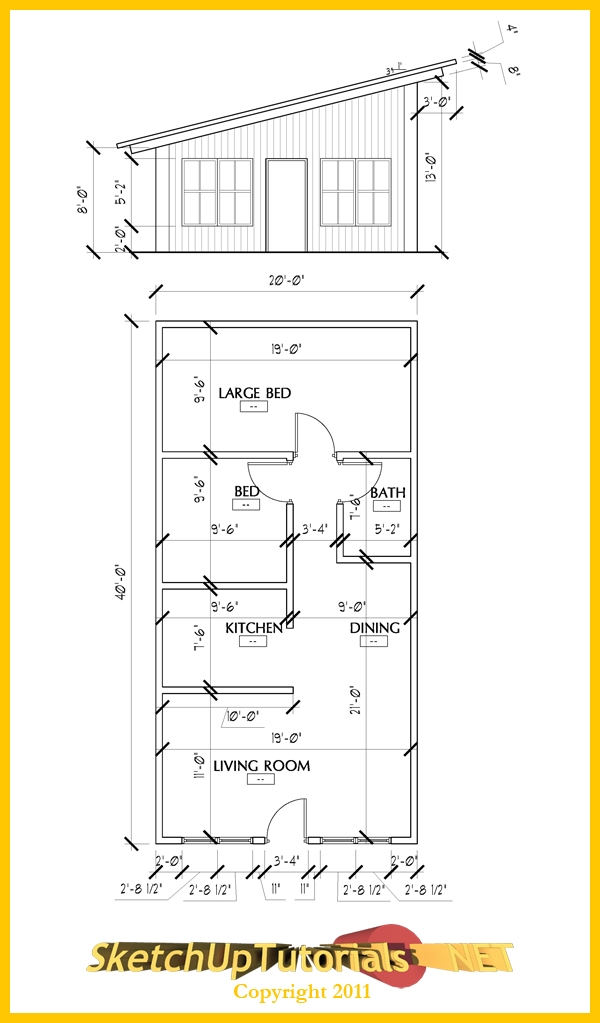
Below is a plan of a building that we will create in this tutorial. Try to come up with a plan to tackle this design. In SketchUp, the best advice I can give is to start from the bottom up. Creating your foundation, floor plan, door and window openings, then finish with the roof.
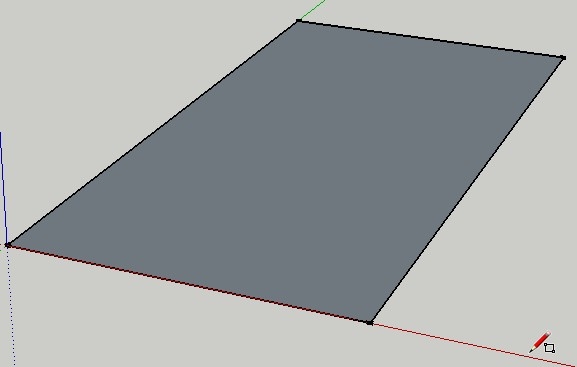
Choose the Rectangle Tool  , click on your starting point (in this case it’s the center of the axis point) notice in the lower right hand corner that there is a dimensions box, type in the measurements as 20’,40’ (this is the syntax for dimensions in SketchUp)
Your workspace should look similar to the picture below
For the sake of this tutorial, all walls are 6” deep including the exterior and interior walls. Note that this is not true in most real life situations.
Select the Offset Tool  , bring the cursor to an edge of the rectangle and click once. Now move the cursor towards the center of rectangle, this will tell the tool which direction to offset. Notice at the bottom right of the screen that it now says “Distance”
  At this point you can either enter the offset directly or you can move the cursor to the desired offset. (Notice as you move the cursor the distance changes)
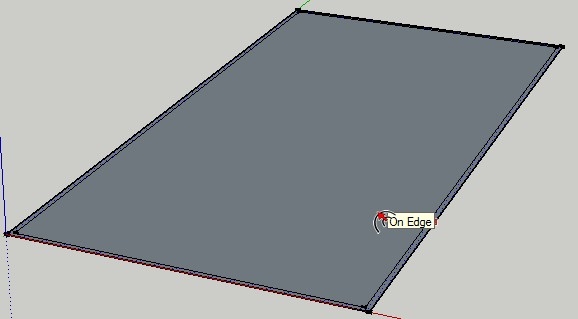
Your model should be similar to the above image
Using the Measurement Tape tool , we will now locate the interior walls. According to the plan the first interior wall from the front of the building is 11’-0” from the inside face of wall. So using the measurement tool, Hit CTRL, this will add a plus sign to the cursor, click and drag the front interior line towards the center of the rectangle. Pay attention to the lower right corner where you can directly type in 11’ or drag to 11’. When you release the mouse, the tool will create a construction line. This is extremely handy when laying out your spaces. You will find that you will use the tool quite often for all your designs.
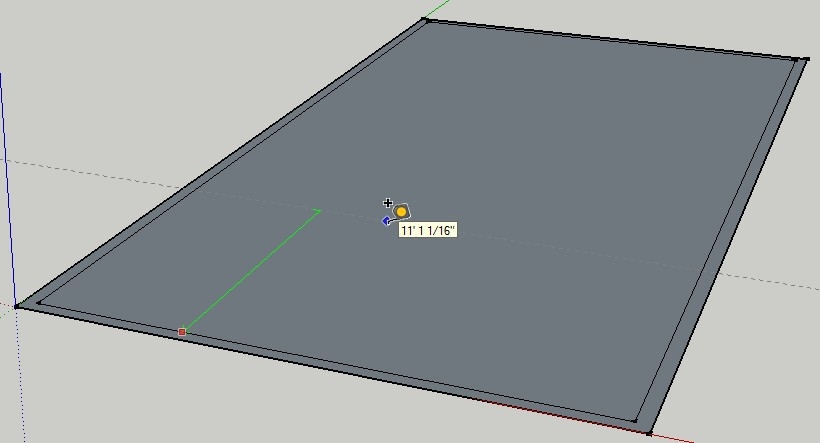
Your modeling space should look similar to the above image. Use this tool to complete the outline of this first wall. It should look similar to below.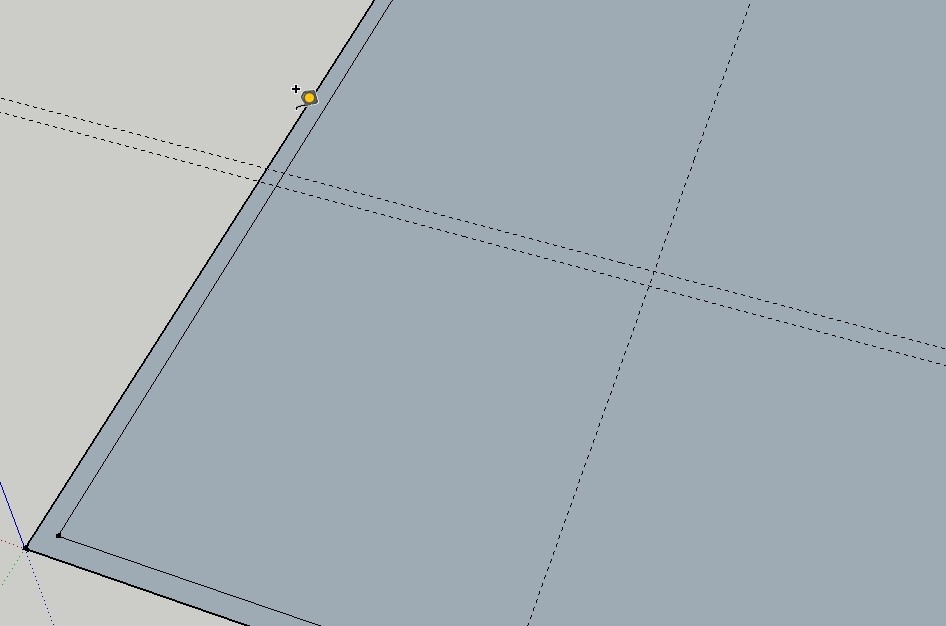
Using the Rectangle Tool  , click on one corner of the wall you outlined then drag to the opposite corner. Essentially outlining you wall. It should look similar to below.
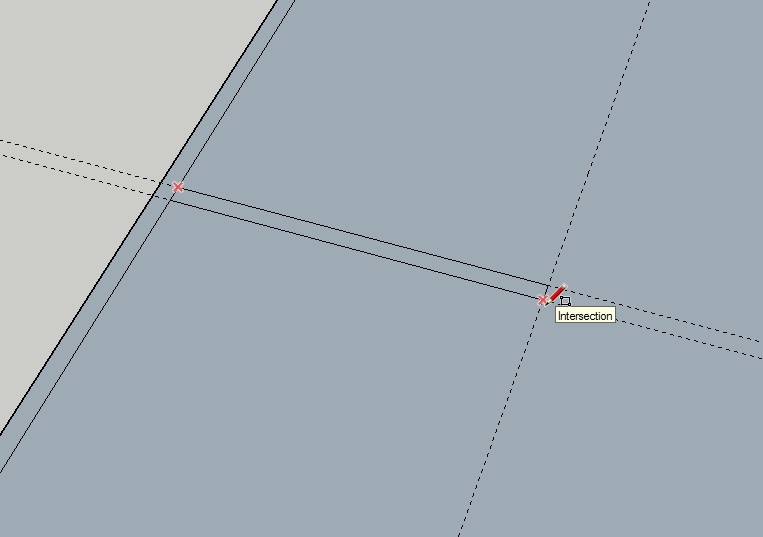
Select the Eraser Tool  and erase the line where the interior wall intersects the exterior wall.
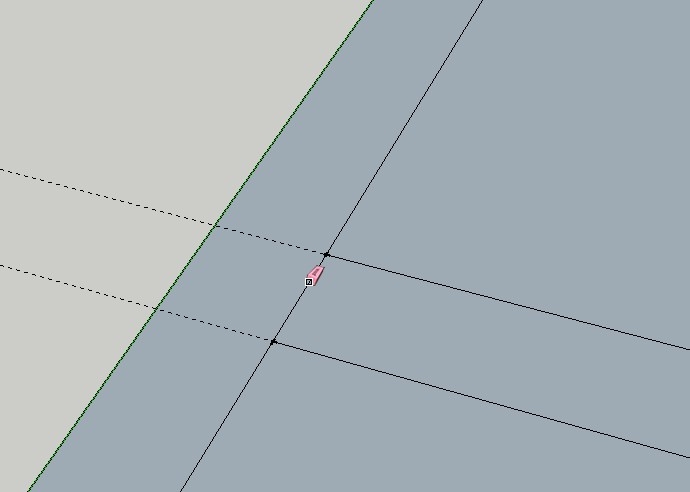
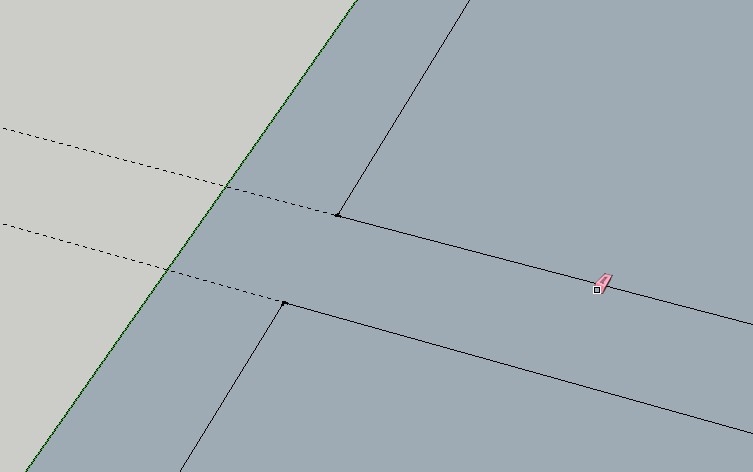
The intersection should look similar to this.
Now finish laying out the rest of the interior walls, it should look like the image below.
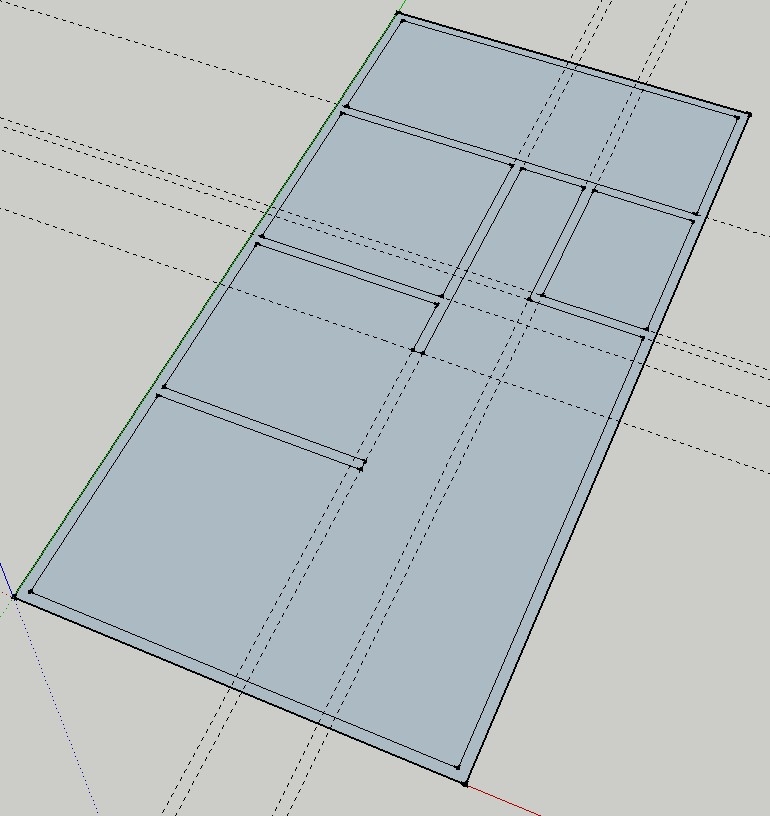
To remove the Construction lines either erase them individually or go to Edit then Delete Guides
Next we will extrude the walls to the proper height. Select the Push/Pull tool . Bring the cursor over the walls that you want to extrude. Notice that they become highlighted to show you what you will be extruding.
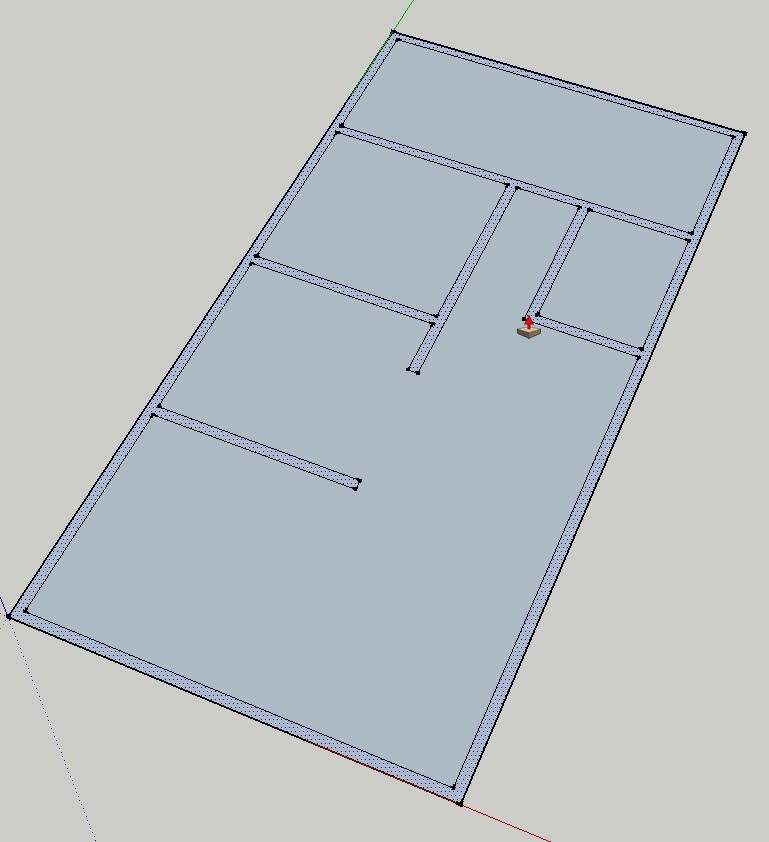
Click once to activate the tool. In the lower right hand side of your screen, a Distance box appears  . Play with the direction of the extrusion by moving the mouse. Move the mouse up to extrude vertically to the proper distance or type in your required distance. In this case it is 8’. Your model should now look like the image below.
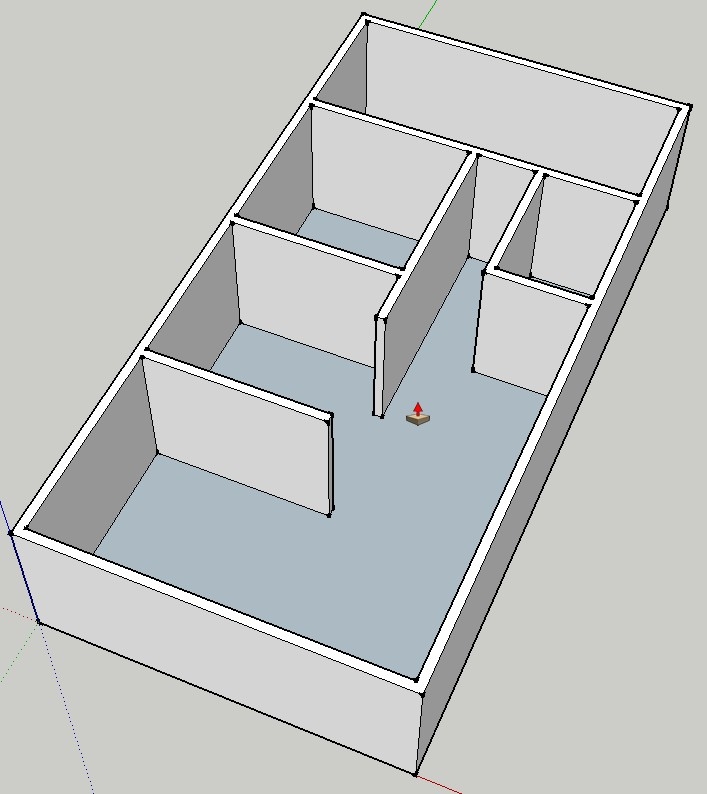
Next we will cut Window and Door openings. Using the Measurement Tool  , layout the overall dimensions of the first window on the left and outline with the Rectangle Tool
  (note the large window is actually 2 identical windows for a total of 4 windows on the front façade)
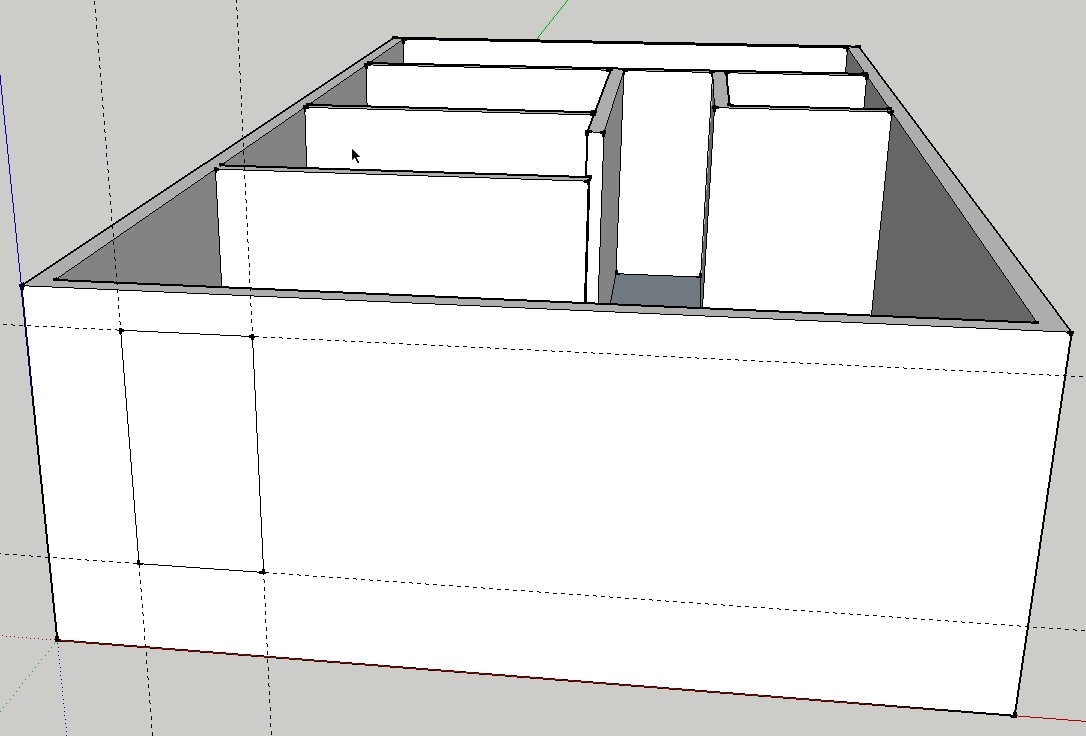
Use the Push/Pull  tool to cut the window opening. Select the interior surface between the outlines and push toward the center of the building 6”. This will cut the opening for the window.
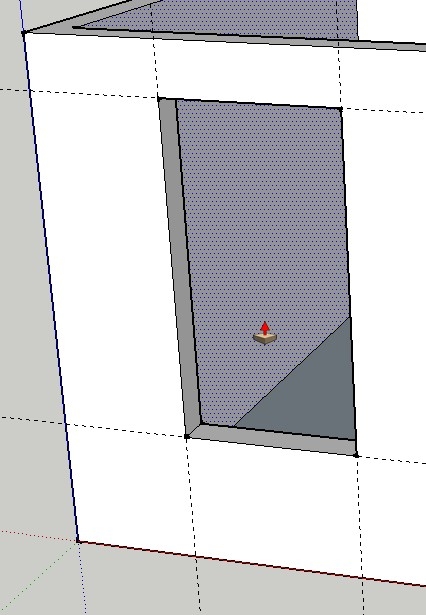
Now we will create a window component. Components are an integral part to designing in SketchUp but don’t confuse them with Groups. Groups are simply a way of grouping pieces together to create a whole piece. For instance, when you are ready to create the roof area, you will want to group the pieces together so if you are still tweaking a design you can remove it, hide it, or move it in one piece. Now a Component is a group that when copied and repeated, if you edit one component all of the same component will change as well. So for this building, since all the window are the same, we will make one window component and copy and paste as needed.
To begin, Use the Rectangle tool  and draw a rectangle on the outside outline of the window opening. Click on the surface inside of the outlined window and Right-Click and choose Select, choose bounding edges which will select the window outline. Now right-Click on the selected objects and choose Make Component or hit the shortcut letter G. At this point you can name the component and select various options. For the sake of simplicity hit create at the bottom. Once the component is created right click on it and select Edit Component.
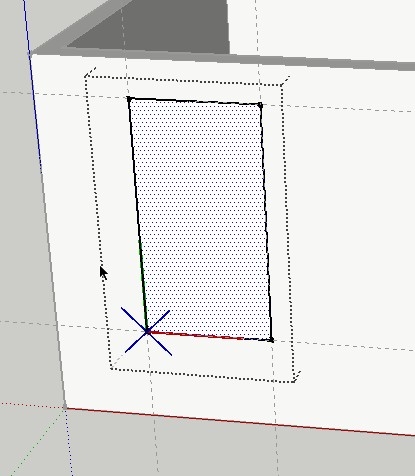
Now layout the window within this space however you like and copy and paste the windows where needed. Repeat these last few step for the doors as well, exterior and interior.


This is an awesome tutorial Jason, thanks for putting it together. I’m always so excited to share how easy it is to model in sketchup and I think this tutorial does that really well.
Thanks for this. I learned a lot, even thought I’m just a high schooler. Thanks for posting this tutorials. You helped other people.